Painting is one of the most common jobs my clients ask me about. And many people think: “I can handle that myself.” You can – but the result depends mostly on preparation, not on the painting itself.
Why Preparation Is Everything
Fresh paint doesn’t fix the problem – it only covers it temporarily. Cracks, damp stains or a poorly primed surface will show through again over time. Proper preparation takes 60–70% of the total time, but it’s time well spent.
Step 1: Prepare the Room
Before you open the first tin, do this:
- Move or cover furniture – paint splatters further than you expect
- Cover the floor – use a dust sheet or old tablecloth
- Tape the skirting boards and frames with masking tape – a clean line saves hours of touch-ups
- Ventilate the room – paint dries faster and more safely
Step 2: Repair the Surface
Go over the walls and mark every spot that needs attention:
- Small cracks and holes – fill with filler (e.g. Uniflex), let dry, then sand smooth
- Larger cracks – use reinforcing tape + filler
- Damp stains – treat with a primer or special stain-blocking coat before painting
- Greasy spots – degrease with spirit or a specialist cleaner
Sanding after filling is mandatory – otherwise every transition will be visible.
Step 3: Primer
Primer is the step people skip most often. Big mistake.
Primer provides:
- Better adhesion of the paint to the surface
- Even absorption (no blotches or streaks)
- Lower consumption of the topcoat
Apply the primer with a brush or roller, allow to dry according to instructions (usually 2–4 hours), then paint.
Step 4: Choosing the Paint
There’s a huge range of paints on the market – how to choose?
- Emulsion paint – most common, suitable for most interiors
- Washable paint – for kitchens, children’s rooms, hallways (can be wiped with a damp cloth)
- Antibacterial paint – for bathrooms or areas prone to mould
- High-coverage paint – if painting over a dark colour with a lighter shade
White or light paint over a dark base = always at least 2 coats, ideally 3.
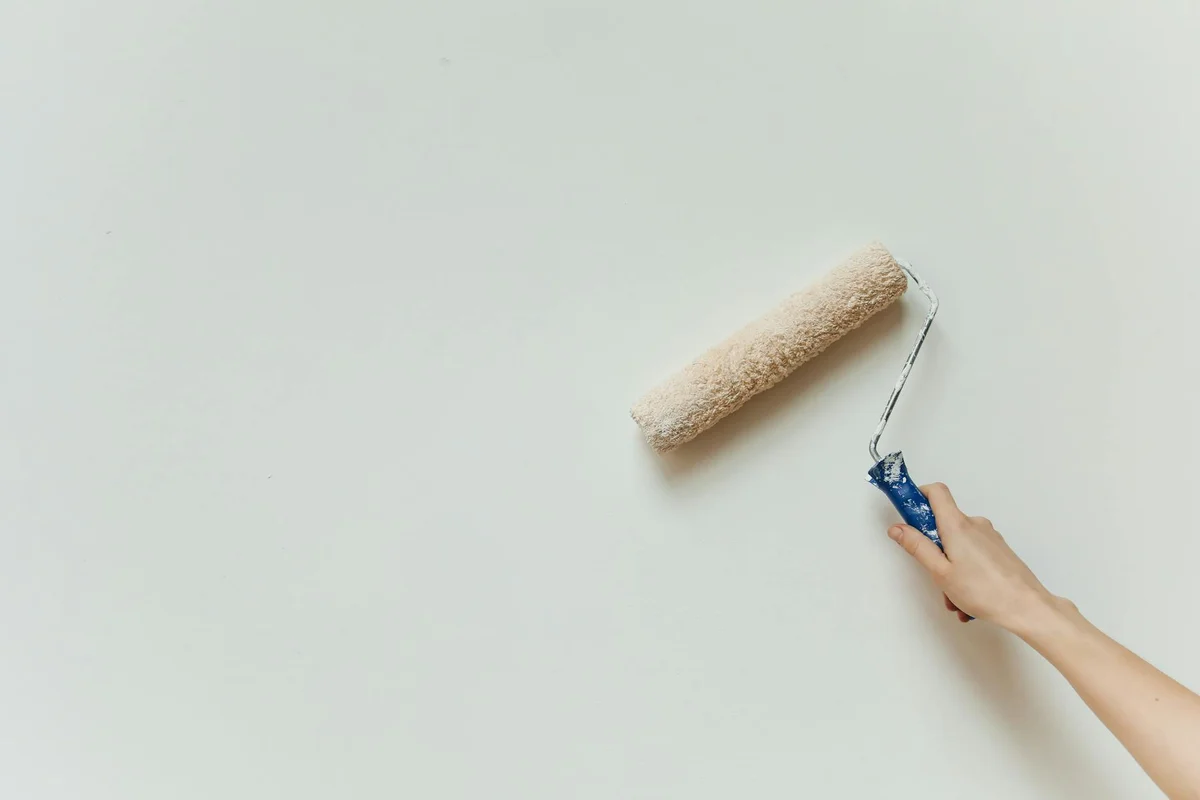
Step 5: Painting Technique
Order Matters
- First, use a brush to paint corners, skirting boards and the areas near frames (about 5–8 cm from edges)
- Then use a roller for the remaining surface
Correct Roller Technique
- Always roll top to bottom, evenly, without stopping
- Overlap adjacent runs by about one third
- Don’t apply too thick a coat – two thin coats are better than one heavy one
- Allow at least 4–6 hours drying time between coats (overnight is ideal)
Tips for a Clean Line
Masking tape must be pressed down firmly – otherwise paint will seep underneath. When you’re done, peel the tape while the paint is still wet, not after it has dried.
When to Call a Professional
Painting is physically demanding – ceilings, ladders, large areas. Call me if:
- You have a large surface or high ceilings
- You’re not sure how to handle surface repairs
- You want the confidence of a professional finish
- You simply don’t have the time
Painting an entire 3-bedroom flat typically takes me 1–2 days, and I always prepare the surface carefully.
Need to repaint your flat or a single room? Call or message me – I’ll come round with a quote.